Quick answer: The five main hydroponic system types are Deep Water Culture (DWC), Nutrient Film Technique (NFT), Kratky, ebb and flow, and aeroponics. DWC suspends roots in oxygenated water and suits lettuce and herbs. NFT runs a thin nutrient stream through channels for fast leafy greens. Kratky is fully passive with no pumps. Ebb and flow floods then drains a tray, handling larger crops. Aeroponics mists bare roots and gives the fastest growth but needs the most maintenance.
I have run all five of these hydroponic system types in my own kitchen and small office grow room, sometimes side by side. After three years of swapping reservoirs, tweaking pumps and rebuilding channels, I have a pretty clear picture of what works for a home grower in Europe. In this pillar guide I walk through DWC, NFT, Kratky, ebb and flow and aeroponics — how each one actually behaves on a windowsill or shelf, what crops it suits, and how much weekly attention it really wants. By the end you will know which type matches your goal, your space and your patience.
What is hydroponics, in plain language
Hydroponics is growing plants in a nutrient solution instead of soil. Roots either sit directly in water, in a thin film, in mist, or in an inert medium like clay pebbles or rockwool that holds moisture but adds no nutrients. The grower delivers nitrogen, phosphorus, potassium and trace elements through a measured liquid fertiliser, controls pH between 5.5 and 6.5 for most crops, and tracks electrical conductivity (EC) to keep nutrient strength in range (usually 1.2–2.4 mS/cm depending on crop). Light, oxygen at the root zone and stable temperature do the rest.
The University of Minnesota Extension notes that small-scale hydroponic systems can produce vegetables year-round indoors with significantly less water than soil, because the solution is recirculated rather than draining into the ground (UMN Extension, small-scale hydroponics). For a deeper definition and a beginner’s setup walk-through, see my earlier piece on what hydroponics is and what a hydroponic garden looks like in practice.
The five system types in this guide are simply different ways of delivering that solution to the roots. Each makes a trade-off between simplicity, oxygenation, water use and crop range. I’ll compare them one by one, then put everything in a side-by-side table so you can pick.
DWC (Deep Water Culture): roots in oxygenated water
Deep Water Culture is the system most beginners meet first. Plants sit in net cups in the lid of a reservoir, and their roots dangle straight into a body of nutrient solution. An air pump pushes air through an air stone at the bottom, creating bubbles that keep dissolved oxygen above 5 mg/L — without that oxygen, roots suffocate within a day or two.
How DWC works
You fill a 10–40 L container with nutrient solution, float net cups in a lid, run an air pump 24/7, and top up water and nutrients every few days as plants drink. EC drops as plants absorb nutrients, so I check weekly and refresh the full reservoir every 2–3 weeks. pH drifts upward (typically toward 6.5–7.0) as roots take up nutrients, so a quick splash of pH-down keeps it in range.
Setup cost and time
A DIY DWC bucket runs roughly €20–40 for the container, air pump, stone, net cups and clay pebbles. Setup takes an hour. Weekly time once running: 10–15 minutes. The single point of failure is the air pump — if it dies overnight, roots can drown by morning.
Best crops for DWC
Lettuce, basil, kale, chard, bok choy and other fast leafy greens thrive in DWC. Larger fruiting plants (tomatoes, peppers) can grow in DWC too, but need much bigger reservoirs (60 L+) and more aggressive aeration. For a windowsill, stick to leafy greens — they’re the highest reward per litre.
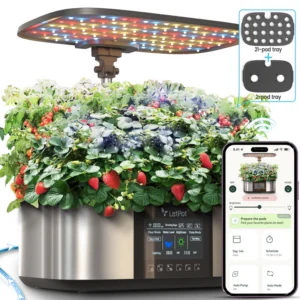
If you’d rather not build one, a small countertop DWC like the LetPot Mini 5-pod smart garden is essentially a managed DWC reservoir with a built-in light and cycling pump — same principle, no DIY.
NFT (Nutrient Film Technique): a thin stream over the roots
NFT runs a shallow film of nutrient solution — usually 1–3 mm deep — down a sloped channel. Roots sit in the channel, the top half exposed to air, the bottom half kissed by the moving solution. The combination of constant moisture and direct air contact is what makes NFT so fast for leafy crops.
How NFT works
A reservoir sits below the channels. A submersible pump lifts solution to the high end of each channel, gravity pulls it down, and it drains back into the reservoir. A slight slope (1:30 to 1:40) keeps the film moving. Plants sit in net cups through holes cut in the channel lid.
Setup cost and time
DIY NFT runs €60–150 for PVC channels (or food-grade rectangular profile), reservoir, pump, tubing and net cups. Setup takes an afternoon. Weekly time: 10–20 minutes. The risk is pump or power failure — without flow, the thin film dries out within hours, and roots cook in the channel.
Best crops for NFT
Lettuce, basil, mint, parsley, dill, arugula, strawberries and most shallow-rooted leafy crops. NFT is the workhorse system of commercial European lettuce growers for a reason: a 12-channel home rig can keep a household in salad year-round. A recent review in Frontiers in Plant Science highlights NFT’s efficient water use and its dominance in commercial leafy-green production (PMC review on NFT advancements). Fruiting crops with heavy root masses can clog channels, so skip tomatoes here.
Kratky method: fully passive, no pumps, no power
The Kratky method, developed by Dr. Bernard Kratky at the University of Hawaii, is hydroponics stripped to its essence: a jar or tub of nutrient solution, a net cup in the lid, and a plant. As the plant drinks, the water level drops, and the air gap that opens above the falling water gives the upper roots oxygen. No pump, no electricity, no daily attention.
How Kratky works
You fill the reservoir to just touch the bottom of the net cup, suspend a seedling, and walk away. Lower roots stay in solution and absorb nutrients; upper roots branch into the air gap and breathe. By harvest, the reservoir is mostly empty and the plant has consumed both water and nutrients.
Setup cost and time
A Kratky jar costs under €5 — a clean glass jar, a 50 mm net cup, a clay pebble plug and a litre of mixed nutrient solution. Setup takes 10 minutes. Weekly time: zero, until harvest. I have a separate step-by-step hydroponics beginner guide that includes a Kratky jar walk-through.
Best crops for Kratky
Lettuce, herbs (basil, mint, chives), bok choy, smaller chard varieties. Crops that finish in 4–6 weeks before the reservoir empties. Tomatoes, peppers and long-cycle crops drink too much for a single passive reservoir to sustain.
Ebb and flow (flood and drain): cycle the tray, walk away
Ebb and flow floods a growing tray with nutrient solution on a timer, lets the plants soak for 10–20 minutes, then drains the solution back to a reservoir below. Plants sit in pots filled with an inert medium — usually clay pebbles, rockwool or coco coir — which holds moisture between floods.
How ebb and flow works
A submersible pump on a timer (typically 4–6 floods per day, 15 minutes each) lifts solution into the tray. Overflow tubes set the maximum water level. When the timer cuts the pump, gravity drains everything back through a return port. The medium wicks moisture to the roots between floods, and the drain cycle pulls fresh air into the root zone.
Setup cost and time
A DIY 60×40 cm flood tray with reservoir, pump, timer and growing medium runs €70–180. Setup takes an afternoon. Weekly time: 15–25 minutes. The big risks are timer failure (constant flood drowns roots) and clogged drain ports (overflow leaks).
Best crops for ebb and flow
Almost everything: lettuce, herbs, strawberries, peppers, cherry tomatoes, basil bushes, even compact cucumbers. The deep medium and intermittent flooding handle larger root systems better than DWC or NFT. This is the most versatile of the five system types.
Aeroponics: roots in mist, fastest growth, highest maintenance
Aeroponics suspends bare roots in an enclosed chamber and mists them with nutrient solution at intervals — typically a 5-second mist every 1–3 minutes (low-pressure / “drip-onics”) or a 1-second mist every 5 minutes (true high-pressure aeroponics with droplets under 50 microns). Because roots are exposed to maximum oxygen and only meet water as a fine mist, plants grow faster than in any other hydroponic system.
How aeroponics works
Plants sit in collars in the lid of a sealed chamber. A pump (low-pressure pond pump or high-pressure diaphragm pump with accumulator) sends solution to misting nozzles that coat the roots. Run-off drains back to a reservoir.
Setup cost and time
DIY low-pressure aeroponics: €80–150. High-pressure systems with proper misters and accumulators: €250–600. Setup takes a full weekend. Weekly time: 25–40 minutes, plus regular nozzle cleaning to prevent clogging.
Best crops for aeroponics
Lettuce, herbs, strawberries and leafy greens grow incredibly fast — yields up to 30–45% higher than DWC in published trials. But the system punishes neglect: if the pump fails or nozzles clog, exposed roots dry out within 30–60 minutes. For a home grower, aeroponics is the most rewarding and the most demanding option.
Side-by-side comparison: pick by cost, time and crop
| System | Setup cost (DIY) | Weekly time | Complexity | Best crops | Failure mode |
|---|---|---|---|---|---|
| DWC | €20–40 | 10–15 min | Low | Lettuce, herbs, leafy greens | Air pump failure → root suffocation |
| NFT | €60–150 | 10–20 min | Medium | Lettuce, basil, strawberries | Pump or power loss → film dries |
| Kratky | Under €5 | 0 (until harvest) | Very low | Lettuce, herbs (4–6 week cycle) | Reservoir empties before harvest |
| Ebb & flow | €70–180 | 15–25 min | Medium | Anything: greens, fruiting, herbs | Timer stuck on → drowned roots |
| Aeroponics | €80–600 | 25–40 min | High | Lettuce, herbs, strawberries (fastest growth) | Nozzle clog → roots dry in <1 hour |
Which hydroponic system type to choose for your goal
I match the system to the goal, not the other way around. Here’s how I’d steer you based on what you actually want.
If you want salad on the table with zero effort: Kratky jars. Start a fresh jar every two weeks and you’ll have rolling lettuce harvests with no pumps, no timers and no failure points.
If you want a steady supply of fresh herbs in the kitchen: a small DWC unit. The countertop format suits 5–12 pods, the cycling pump runs quietly, and you’ll have basil, parsley and mint within 4 weeks of planting.
If you want maximum yield per square metre: NFT channels. A wall-mounted 4-channel rig with 32 lettuce spots can replace your weekly supermarket salad.
If you want to grow tomatoes, peppers and bigger crops indoors: ebb and flow. The medium-supported pot format handles the root mass.
If you want the fastest growth and don’t mind tinkering: low-pressure aeroponics. Build it on a weekend, dial in your mist cycle and watch plants explode.
My setup recommendations for a first-timer
The mistake I see most often: buying for the system you imagine, not the system you’ll actually maintain. Three honest recommendations from my own grow log:
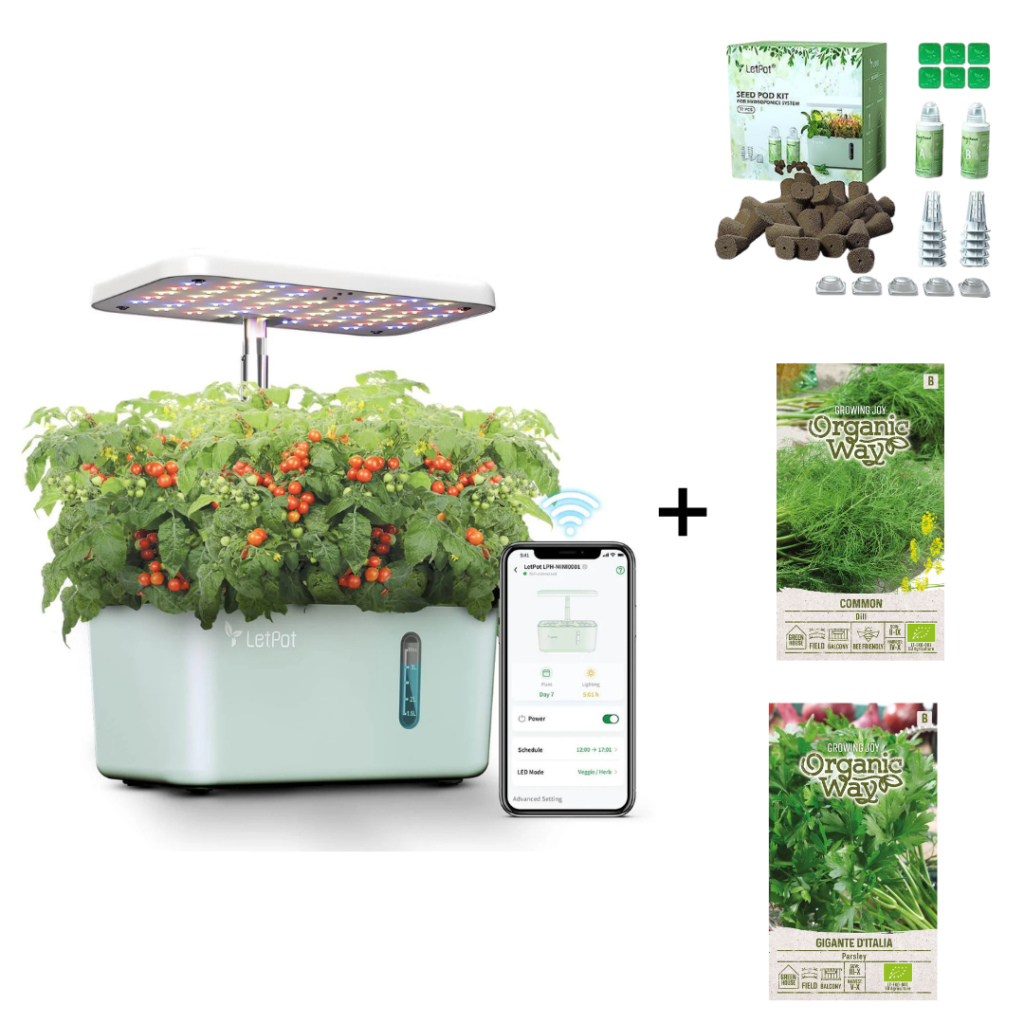
1. Start with a managed countertop DWC for 4 weeks. Something like the LetPot Mini Herb Garden Starter Bundle gives you a sealed reservoir, programmed light cycle, basil/parsley/dill seeds and a cycling pump for under €100. You’ll learn nutrient mixing, pH and harvest cadence without building anything. Browse the full smart gardens category if you want a bigger pod count from day one.
2. Add a Kratky jar on the side for free. One mason jar, one net cup, one packet of leftover lettuce seeds. Run it next to your countertop unit. After 5 weeks you’ll have a direct gut-feel comparison of active vs. passive, and you’ll know which appeals to you.
3. Only build NFT, ebb and flow or aeroponics once you’ve completed two full grow cycles. You’ll already know your nutrient brand, your tap water EC, your room temperature swings and which crops you actually eat. Those four data points decide which DIY system makes sense.
For the nutrients themselves, a balanced 2-part hydroponic concentrate (the LetPot hydroponics nutrients set is what I use) covers all five system types. An EC and temperature meter pays for itself within two grows because it stops you guessing.
FAQ: hydroponic system types
Which hydroponic system is best for beginners?
The Kratky method for true beginners — no pumps, no electricity, under €5 per jar. The next step up is a managed countertop DWC unit, which removes the build complexity but teaches you nutrient and pH management. I cover this trade-off in more depth in which hydroponic method is best.
Which hydroponic system uses the least water?
Aeroponics, by a clear margin. Because nutrients are delivered as a fine mist, only the volume that actually contacts roots is “consumed” — the rest drains and recirculates. DWC and ebb and flow are still 70–90% more water-efficient than soil, so the difference matters most at commercial scale.
Can I grow tomatoes in DWC or NFT?
Tomatoes prefer ebb and flow or a large DWC bucket (60 L+). NFT channels clog with heavy root masses, so skip NFT for tomatoes. For peppers, the same rule applies.
Do I need grow lights with every hydroponic system?
If you’re more than 30 cm from a south-facing window in winter, yes. Hydroponics removes soil as a limiting factor, but light is the next bottleneck. Most countertop DWC kits include integrated LED lights; DIY systems usually need a separate 30–100 W full-spectrum panel.
What’s the lowest-maintenance hydroponic system long-term?
For continuous grows over months, a well-built ebb and flow with reliable timer wins because the medium buffers root moisture during brief power cuts. Kratky is lowest-maintenance per crop, but you restart each cycle. See what is the lowest-maintenance hydroponic system for the full breakdown.
How much faster do plants grow hydroponically?
Lettuce typically finishes in 4–5 weeks hydroponically vs. 6–8 weeks in soil — a 30–40% speed-up. Aeroponics can push that further. I unpacked the comparison in do plants grow faster hydroponically or in soil.
Is hydroponics better than soil for indoor growing?
For leafy greens and herbs, almost always yes — faster, cleaner, less pest pressure. For long-cycle fruiting crops, the difference narrows. Read is hydroponics better than soil for indoor growing for the nuanced answer.
What’s EC and why does it matter across all systems?
EC (electrical conductivity) measures how much nutrient is dissolved in your solution. Too low and plants starve, too high and they burn. All five system types share the same EC targets: 1.2–1.6 mS/cm for leafy greens, 1.8–2.4 for fruiting crops. My EC guide is here: what is EC in hydroponics.
Where to start with hydroponics today
If this guide has narrowed your choice, the fastest first step is a managed DWC kit you can plug in tonight: the LetPot Mini herb garden starter bundle includes the unit, light, pump, sponges, basil/parsley/dill seeds and nutrients — basically a 4-week head start. For larger households or families, the full smart gardens category covers 10-pod, 12-pod and 21-pod sizes.
If you’d rather build, start with a Kratky jar this weekend (under €5), then graduate to DWC, NFT, ebb and flow or aeroponics as your confidence grows. Either path, the five system types in this guide are your full toolkit for growing food without soil. Pick the one that matches the time you actually have — that’s the system you’ll still be running a year from now.