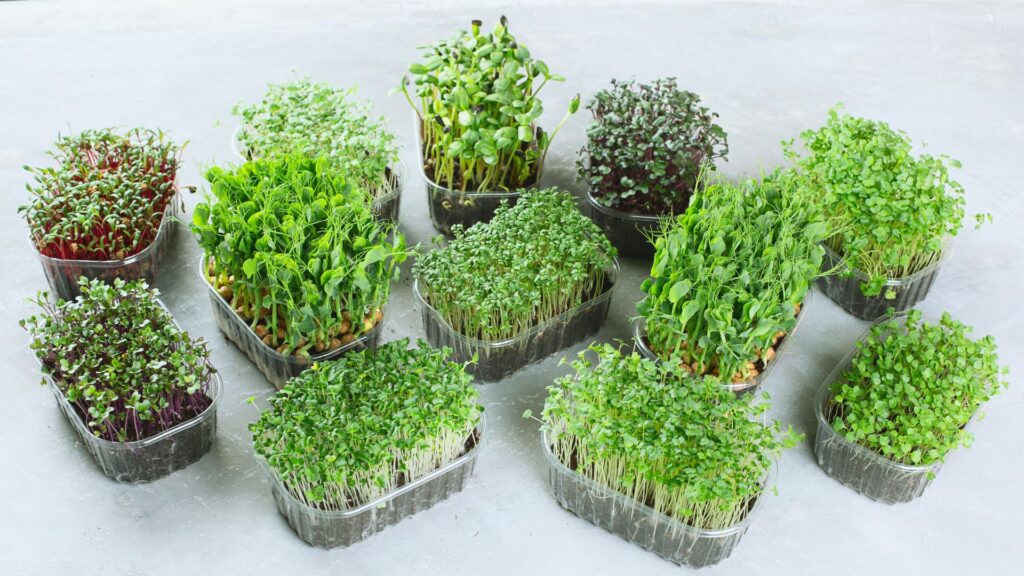
Microgreens are one of the simplest ways to get kids growing something indoors: pea shoots typically give a first harvest in 7 to 10 days, and garden cress in as little as 6 to 8 days. All it takes is a bowl, seed and water — no soil mess and no sharp tools.
Plenty of parents would like to get their children growing something, but a pot of compost on the kitchen counter is not always practical, and the result can take weeks to show. Microgreens solve that: they grow in a bowl or jar on the counter with no soil at all, and the change is visible day by day. This guide covers how to start with the two easiest seeds, the food-safety points worth knowing when a child will be eating the harvest, and how to turn the whole thing into a short, repeatable project.
Products mentioned — in stock at IndoorGarden, shipped from Tallinn across the EU.


Why microgreens suit a project with kids
Microgreens have three traits that set them apart from a normal pot of soil. First, there is no soil mess to manage, just a damp paper towel, coir or a simple sprouting bowl. Second, the change is visible every day: the seed germinates within days and the bowl is full of green within a week, so a child is not waiting a month to see a result. Third, the only tool involved is a pair of scissors at harvest time, and an adult can handle that step while the child watches. KidsGardening, a gardening education nonprofit, lists microgreens among the easiest growing projects for children at home or in a classroom, since all they need is a bright windowsill and about a week.
Two easy starting seeds: pea shoots and garden cress
Pea shoots use a large, easy-to-handle seed, so even a young child can scatter it over the growing medium with their fingers rather than tweezers or a spoon. According to the Mississippi State University Extension Service, pea shoots typically reach harvest 7 to 10 days after sowing, and the cut stem can sometimes be recut for a smaller second harvest. Soaking the seed for 8 to 12 hours before sowing speeds up and evens out germination, and a child can manage that step alone, since it is just seed, water and an overnight wait.
Garden cress is the fastest of the two — a first cut is typically possible in just 6 to 8 days from sowing, with no soaking at all. The small seeds are simply scattered over a damp growing surface and covered with a lightly moist towel for a few days. Because the result appears faster than almost any other seed in our range, cress suits a child who wants to see a change over a single weekend rather than waiting out a full week.
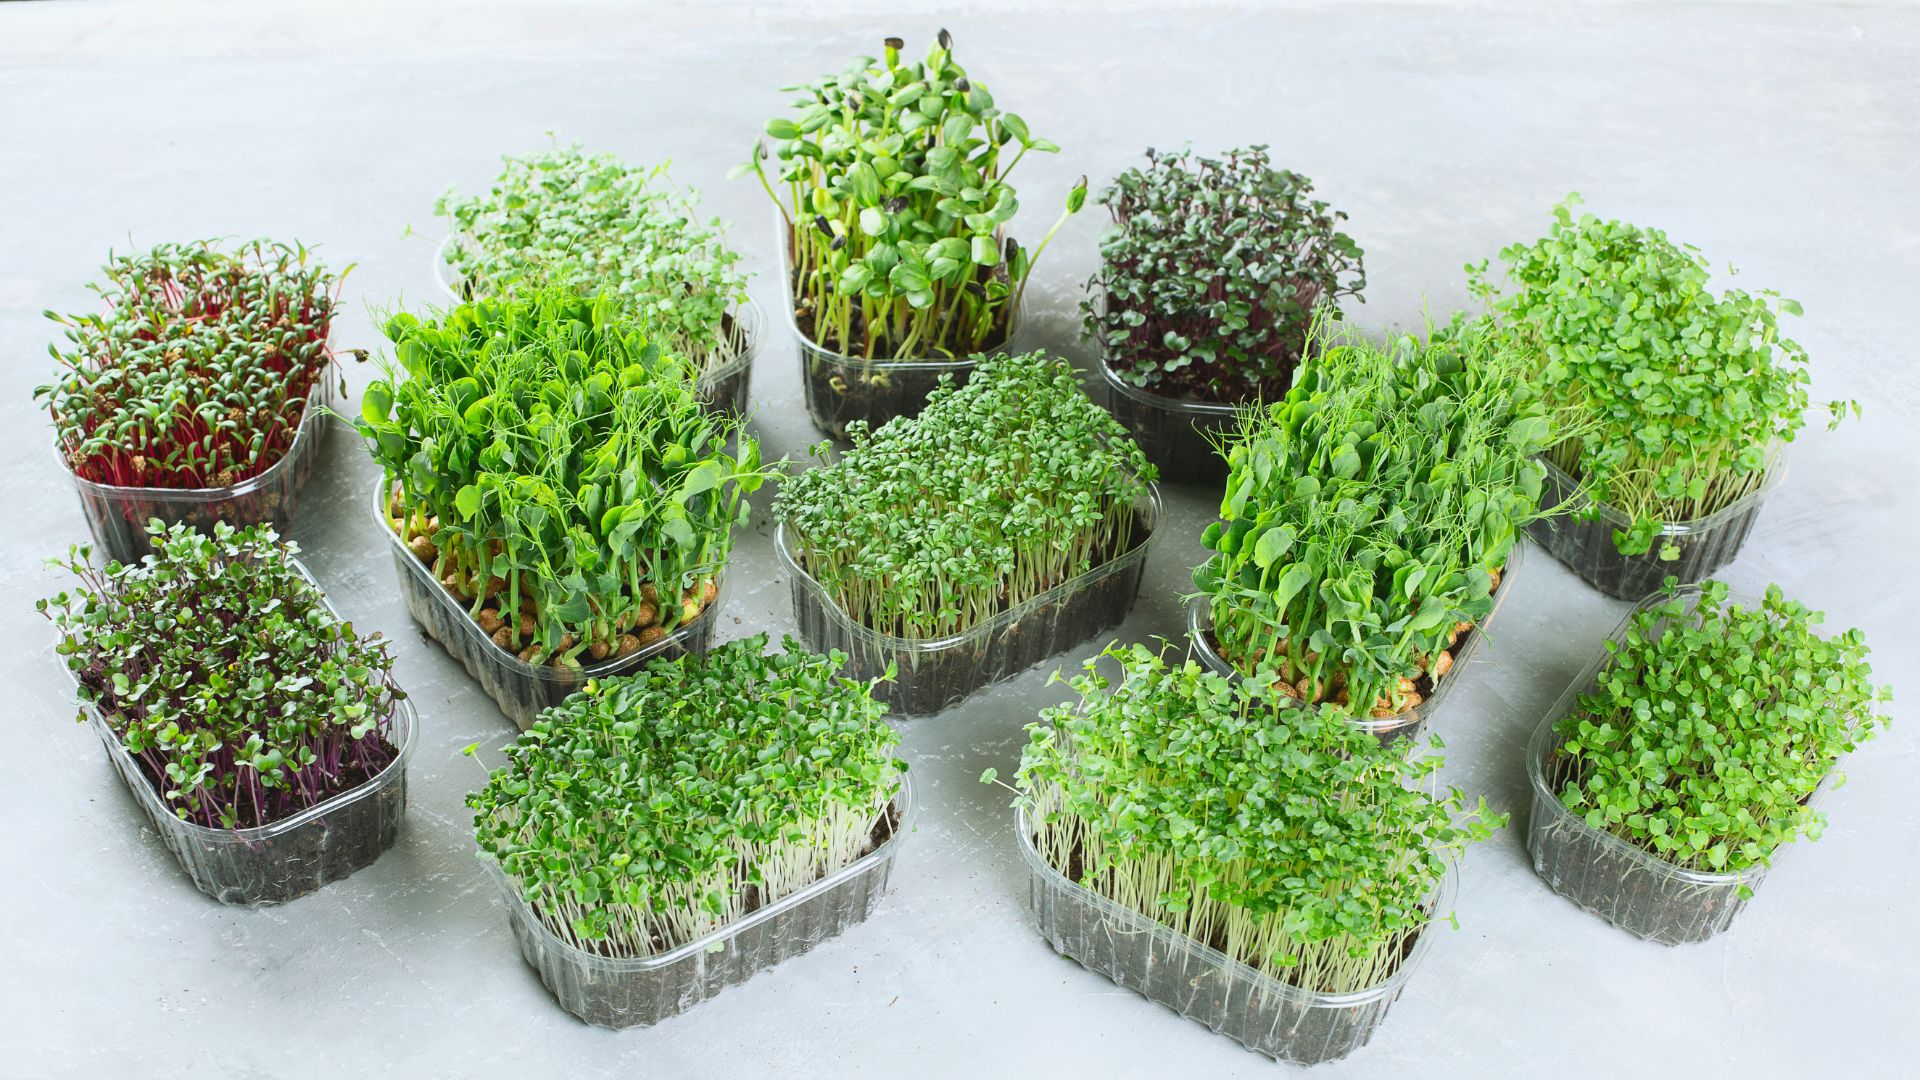
Step by step: from seed to first harvest
- Prepare the container. Add 2 to 3 cm of damp growing medium, or a folded damp paper towel, to a sprouting bowl or shallow tray.
- Soak the seed if growing pea shoots. 8 to 12 hours in water before sowing; cress needs no soaking at all.
- Scatter the seed densely so it almost touches but does not pile up in clumps.
- Mist and cover with a second bowl or plate for 2 to 3 days so the seed germinates in the dark.
- Uncover and move into light once the shoots reach 2 to 3 cm, which stops them stretching and brings on the green colour.
- Harvest with scissors once the shoots are 5 to 8 cm tall, cutting just above the growing medium.
Food-safety points when a child will eat the harvest
Microgreens and sprouts are not the same thing, and the difference matters for safety. Sprouts grow fully submerged in warm, damp, dark conditions with no growing medium at all, which is an environment bacteria can multiply in easily. Microgreens grow on a medium, in the light, with air moving around them, and food safety bodies such as Quebec’s public health service treat that as a generally lower, though not zero, risk. Rinsing the harvest gently in clean water before eating is still worth doing, and washing hands before and after handling seed and growing medium is good practice, the same as preparing any other fresh food.
For young children, pregnant women and anyone with a weakened immune system, general food-safety guidance is to eat only freshly cut, well-rinsed greens and to avoid leaving them sitting somewhere warm after cutting. If the growing medium or the water in the tray starts to smell sour or shows any fuzzy growth, the safer choice is to discard that batch and start again rather than rinse it off and eat it anyway.
Turning it into a repeatable project
One bowl is usually a single cut, since most microgreens do not regrow once harvested, so it is worth sowing a new batch every 4 to 7 days while the current one is still growing, which gives a child something to check on at all times. Splitting the jobs by stage is the simplest way to hold a child’s interest: sowing and soaking suit even the youngest helpers, misting and watching suit a mid-age child, and cutting with scissors is best done by an adult, or by an older child under supervision, while a younger one holds the bowl steady. Running a few bowls on rotation at different stages on the same kitchen shelf keeps a steady supply coming without a long gap between batches.
| Seed | Soaking | Days to harvest | Best for | Price |
|---|---|---|---|---|
| Pea shoots | 8-12 h | 7-10 days | Kids who enjoy the soaking step | €6.99 |
| Garden cress | None | 6-8 days | The fastest result over a weekend | €1.39 |
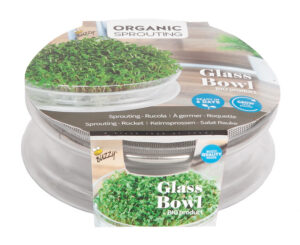
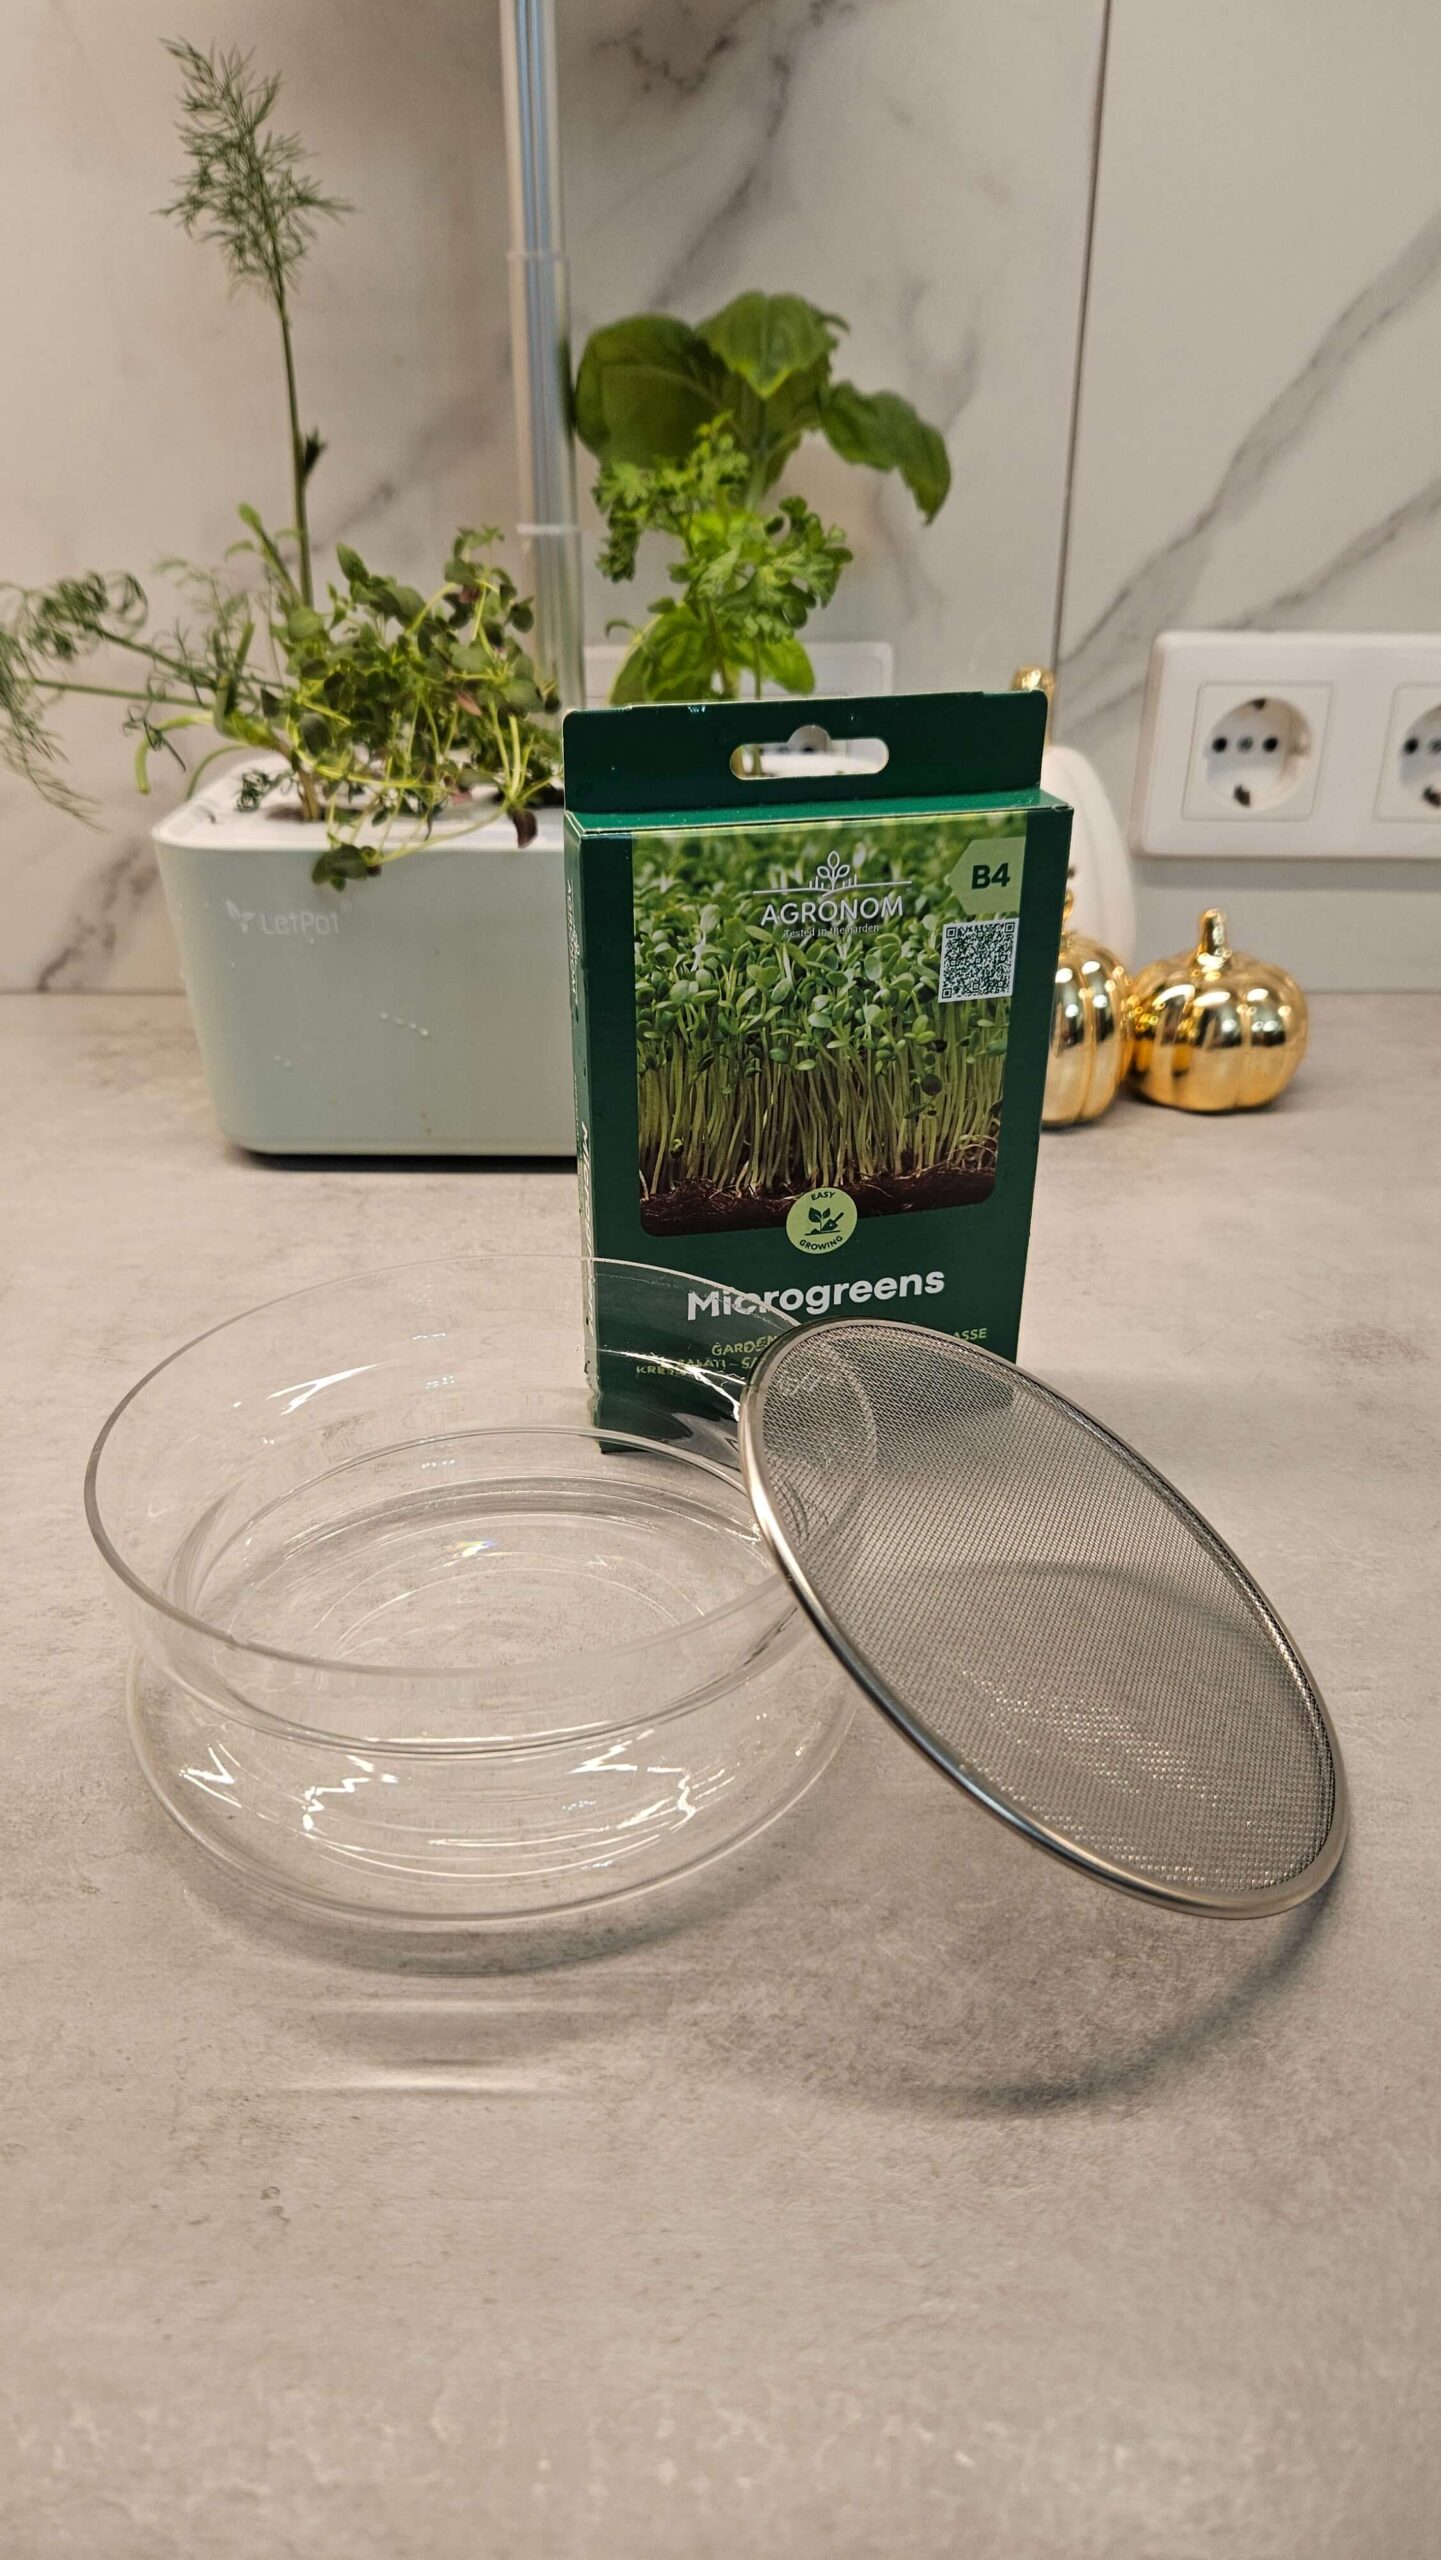
| Glass sprouting bowl | — | — | A first project, arugula seed included | €12.99 |
Frequently asked questions
What age can a child start helping with microgreens?
Sowing and misting suit children as young as 3 to 4 with adult supervision. Cutting with scissors is better left to an older child or an adult, with the younger one holding the bowl.
Do microgreens for a kids’ project need a grow light?
No. A bright windowsill is normally enough, since the whole cycle from sowing to cutting is over within a week, before a lack of daylight becomes a real issue. A supplemental LED speeds things up in the darker months but is not essential for such a short crop.
Why aren’t my microgreens coming up evenly?
The most common cause is uneven sowing or a growing medium that dried out in the first couple of days. Scatter the seed densely in a single layer and check moisture daily for the first 2 to 3 days.
Is it safe to give microgreens to a young child?
Freshly cut, well-rinsed microgreens are generally considered lower risk than sprouts grown in water, since they grow in the light with air movement rather than submerged in a warm, dark container. As with any fresh food, rinse the harvest before giving it to a young child.
How long do cut microgreens stay good to eat?
Freshly cut, dry microgreens kept in a sealed container in the fridge typically hold for about a week. If the growing medium or water starts to smell off, it is best not to eat that batch.
My child enjoyed the first batch — what should we grow next?
Sow the next batch a few days after the first so the harvest keeps coming, and try a different seed next time, such as sunflower or broccoli microgreens from our microgreen seeds range.
Where to start
For a first project with a child, garden cress is the easiest choice, since there is no soaking to plan ahead for. For a slightly longer project with a soaking step included, start with pea microgreen seeds, and pick up a bowl from our seed sprouting jars and bowls range. Everything ships from our Tallinn warehouse across the EU.