Microgreens are one of the easiest and fastest ways to grow food indoors. They don’t need much space, they grow quickly, and they deliver intense flavor and nutrition in a very small footprint. For beginners, microgreens are often the most rewarding starting point in indoor gardening because results come fast and mistakes are easy to fix.
This guide is designed to be a complete, practical reference for growing microgreens at home. We’ll cover what microgreens are, which ones are best for beginners, how to grow them step by step, what equipment you need, common problems, and how to harvest safely. Everything here focuses on microgreens you can grow using our microgreen seeds and simple indoor growing solutions like seed sprouting jars and bowls.
What are microgreens?
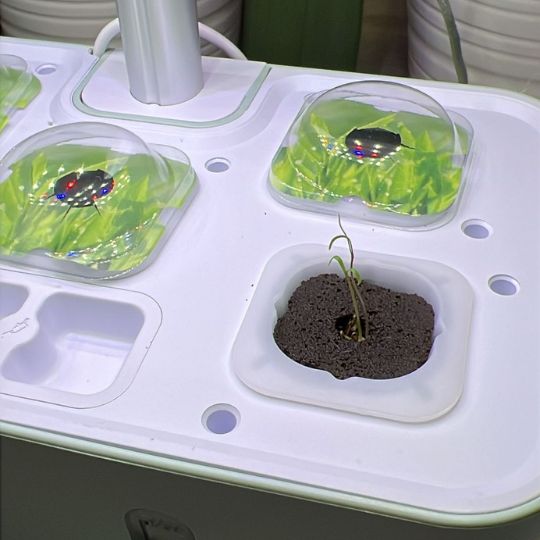
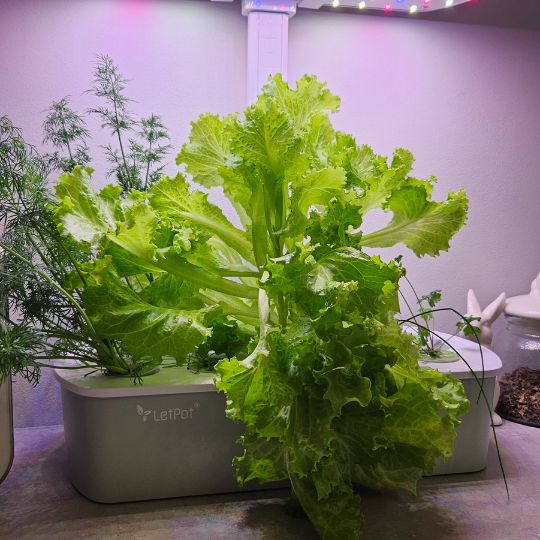
We have always both in our kitchen – watercress in sprouting jar and herbs growing in LetPot Mini
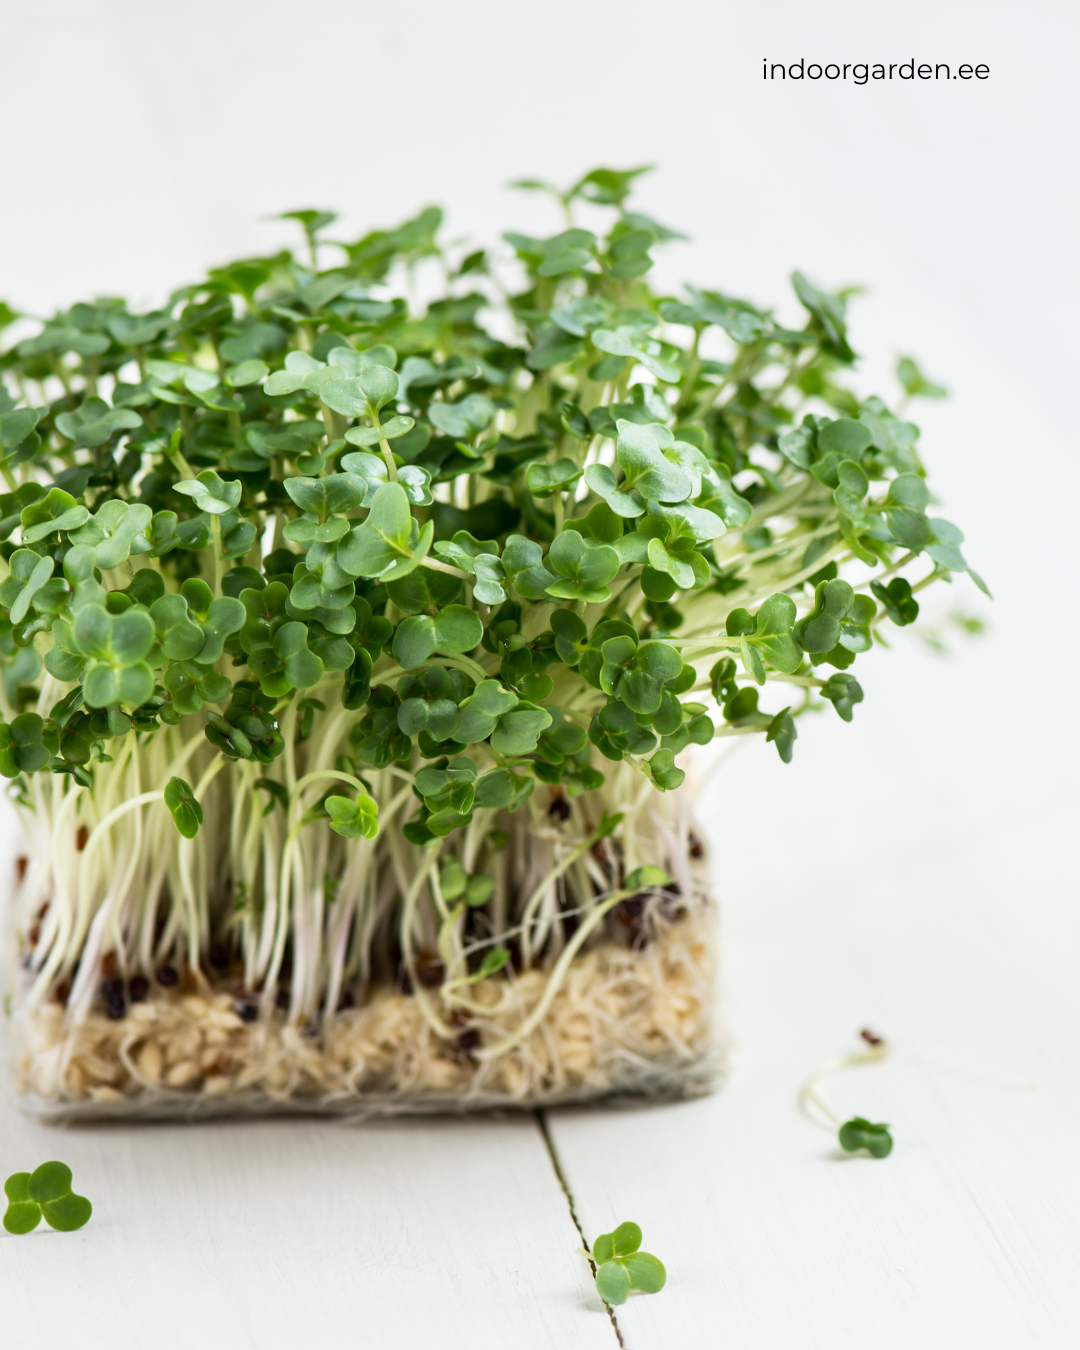
Microgreens are young vegetable greens harvested shortly after germination. They are larger than sprouts but younger than baby greens. Most microgreens are harvested when they have developed their first set of true leaves, usually 7–14 days after sowing.
Unlike sprouts, microgreens are grown with light and harvested above the root. This makes them easier to handle, easier to store, and more versatile in the kitchen.
Why microgreens are perfect for beginners
- They grow fast, often in under two weeks
- No deep pots or large containers needed
- Minimal watering compared to full-size plants
- Very forgiving if you make small mistakes
- High nutrition in a small harvest
If you want confidence quickly, microgreens are one of the best places to start.
Microgreens vs sprouts: what’s the difference?
- Sprouts: Grown in jars, no light, eaten whole (including root)
- Microgreens: Grown in trays or bowls, need light, harvested above the root
This guide focuses on microgreens. If you prefer sprouts, sprouting jars are still useful, but the growing and harvesting method is different.
Microgreens you can grow at home (from our selection)
Not all plants work well as microgreens. Below are the microgreens that are reliable, beginner-friendly, and available in our store.
Sunflower microgreens
Sunflower microgreens are thick, crunchy, and mildly nutty. They are one of the most filling microgreens and are often used in salads and sandwiches.
- Harvest time: 8–12 days
- Texture: crunchy and juicy
- Best use: salads, wraps, bowls
You can grow them using sunflower microgreen seeds.
Cress microgreens
Cress is one of the fastest microgreens you can grow. It has a fresh, slightly peppery taste and is often ready in under a week.
- Harvest time: 5–7 days
- Texture: delicate
- Best use: sandwiches, eggs, soups
Grow easily from cress seeds.
Radish microgreens
Radish microgreens grow quickly and add a spicy kick to meals. They are among the most forgiving for beginners.
- Harvest time: 6–10 days
- Flavor: spicy and sharp
- Best use: salads, tacos, savory dishes
Start with radish seeds for fast results.
Pea microgreens
Pea shoots are sweet, tender, and grow taller than most microgreens. They are great for stir-fries and fresh salads.
- Harvest time: 10–14 days
- Flavor: sweet and fresh
- Best use: salads, light cooking
Grow from pea seeds.
Mustard microgreens
Mustard microgreens have a bold, spicy flavor similar to wasabi or horseradish. A little goes a long way.
- Harvest time: 6–10 days
- Flavor: strong and spicy
- Best use: salads, garnishes
Use mustard seeds for reliable growth.
Kale microgreens
Kale microgreens are mild compared to mature kale and are rich in nutrients. They are easy to grow and visually attractive.
- Harvest time: 8–12 days
- Flavor: mild and fresh
- Best use: salads, smoothies
Start with kale seeds.
What you need to grow microgreens indoors
Seeds
Always use seeds intended for microgreens or indoor growing. Browse all options in our microgreens seeds category.
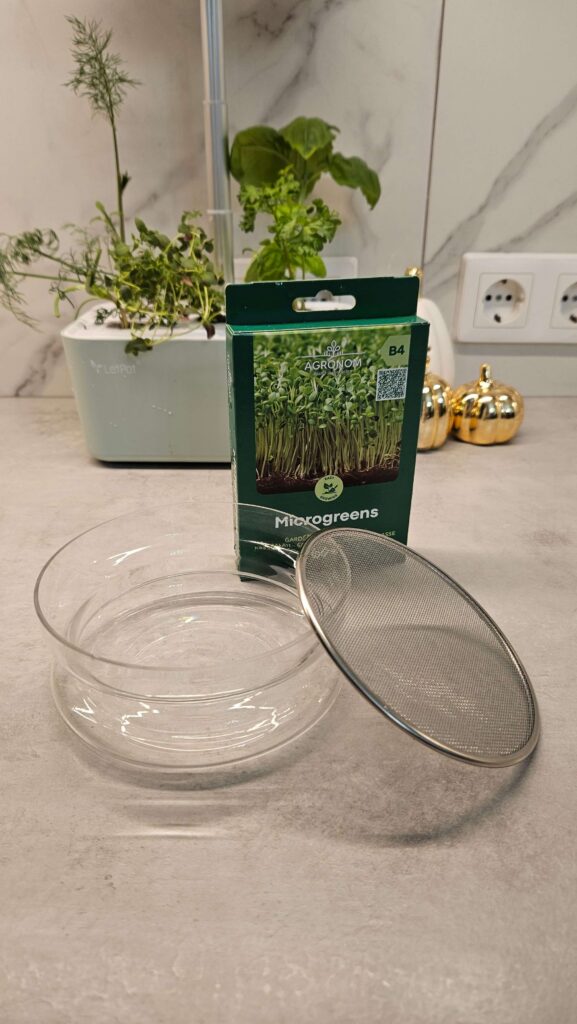
Growing containers
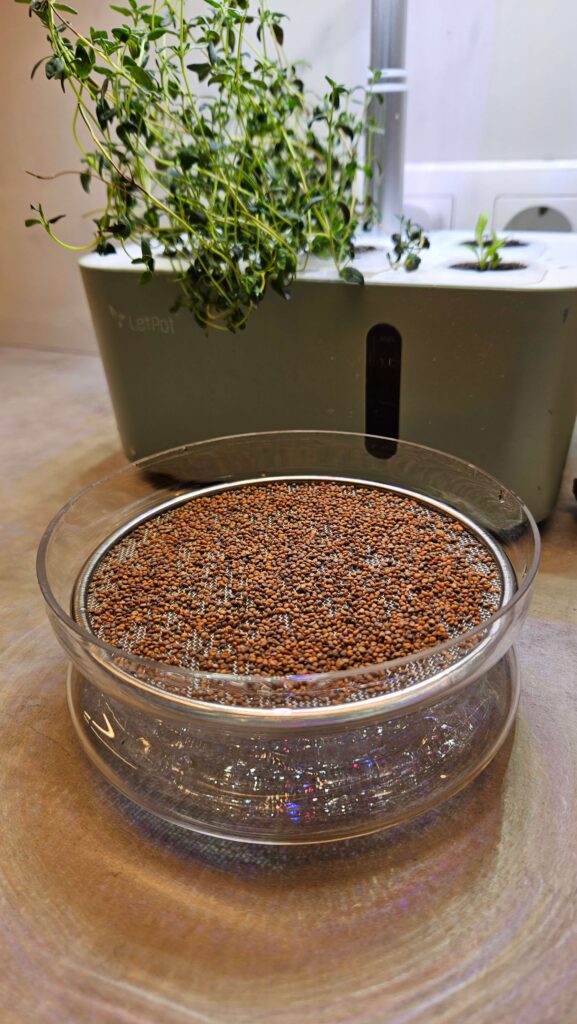
You don’t need deep pots. Shallow trays, bowls, or dedicated sprouting containers work best.
For beginners, we recommend simple solutions from our seed sprouting jars and bowls collection. These are easy to clean and sized well for small indoor harvests.
Growing medium
- Soil or seed-starting mix (most common)
- Growing mats (optional, depending on setup)
Light
Microgreens need light after germination. A bright windowsill often works. If light is limited, a grow light or smart garden LED can be used.
Step-by-step: how to grow microgreens at home
1. Prepare the container
Fill your tray or bowl with a shallow layer of soil. Level the surface gently without compacting it.
2. Sow seeds densely
Microgreens are grown close together. Spread seeds evenly across the surface. Do not bury them deeply.
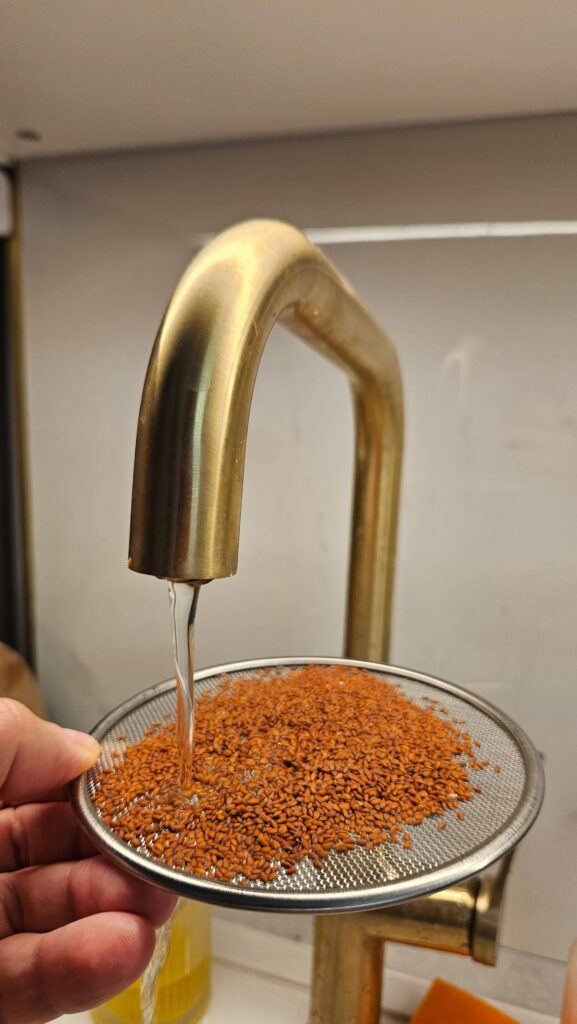
3. Water gently
Mist or water lightly so the soil is evenly moist. Avoid flooding.
4. Cover for germination
Cover the container for the first 2–4 days to block light. This encourages strong, even germination.
5. Move to light
Once sprouts appear, remove the cover and place the tray in bright light.
6. Water from below if possible
Bottom watering keeps stems dry and reduces mold risk. We have had to through away a couple of patches since we over watered them so this is really important to be successful.
7. Harvest at the right time
Harvest when the first true leaves appear. Use clean scissors and cut just above the soil surface.
Common beginner problems and how to fix them
Mold on soil
Usually caused by too much moisture and poor airflow. Reduce watering slightly and improve air circulation.
Thin or leggy microgreens
Not enough light. Move closer to a window or add supplemental lighting.
Uneven growth
Seeds were spread unevenly or soil wasn’t level. Next time, take a moment to distribute seeds evenly.
Are microgreens healthy?
Yes. Microgreens are often more nutrient-dense than their mature counterparts. Because you harvest them fresh, vitamin loss from storage is minimal.
How often can you grow microgreens?
You can grow microgreens continuously. Many people start a new tray every week to have a steady supply.
Conclusion
Growing microgreens indoors is one of the simplest and most rewarding ways to start indoor gardening. With just a small tray, good seeds, and light, you can harvest fresh greens year-round.
Start with beginner-friendly options like cress, radish, or sunflower, choose reliable microgreens seeds, and use easy containers from our seed sprouting jars and bowls collection. Once you see how fast and simple it is, microgreens often become a permanent part of the kitchen.
For guidance on choosing the right seeds for your indoor growing projects, see our indoor garden seeds guide.